
Calculator guide
How to use the Eurocode 2 calculator: a getting-started guide
A tour of the free Eurocode 2 calculator: choosing the member and National Annex, entering loads, reading the checks, and downloading the PDF.
- Reading time
- 8 minutes
- Standard
- EN 1992-1-1
- Updated
On this page 9 sections
The Eurocode 2 calculator designs one reinforced concrete member at a time: a slab, a beam, a column or a footing. You enter what an exam question gives you (the sizes, the materials and the loads), and it works out every check of EN 1992-1-1 the way a model answer sets them out, with the clause for each step.
This guide walks through one design from start to finish. Each member also has a guide of its own, listed at the end.
- Pick the member: slab, beam, column or footing
- Choose the National Annex
- Enter the sizes, the materials and the characteristic loads
- Does the badge say the design passes?
Yes
- Read the checks, then the calculation sheet
No
- Read the failing check, change the inputs, look again
- Open the groups of the sheet you want to follow
- Download the A4 PDF
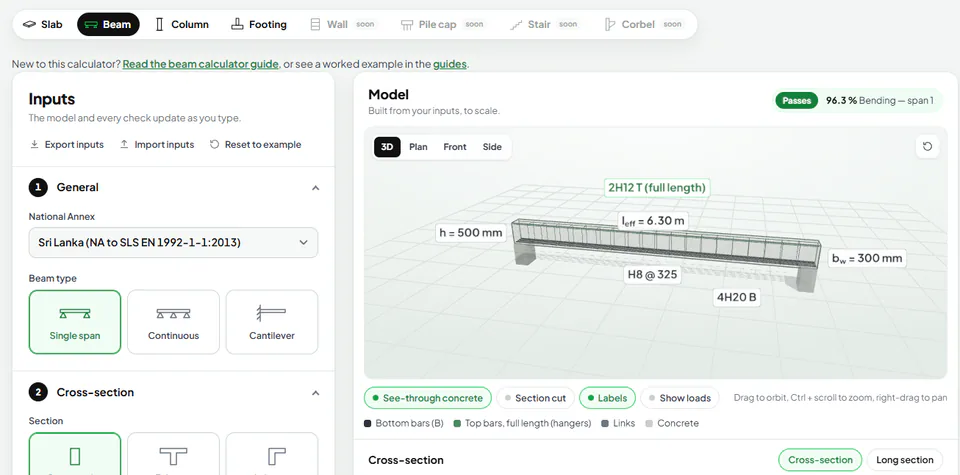
The top of the calculator, with the beam example loaded. The numbers follow the order you work in.
- Pick the member: slab, beam, column or footing
- Export your inputs to a file, load them back, or reset to the example
- Choose the National Annex; its values flow through every check
- Fill in the numbered groups from the top; every field has its unit
- The verdict and the most heavily used check, updated as you type
- Turn the model, or see it in plan, front or side view
Choose the member
The row of tiles at the top of the calculator picks the member:
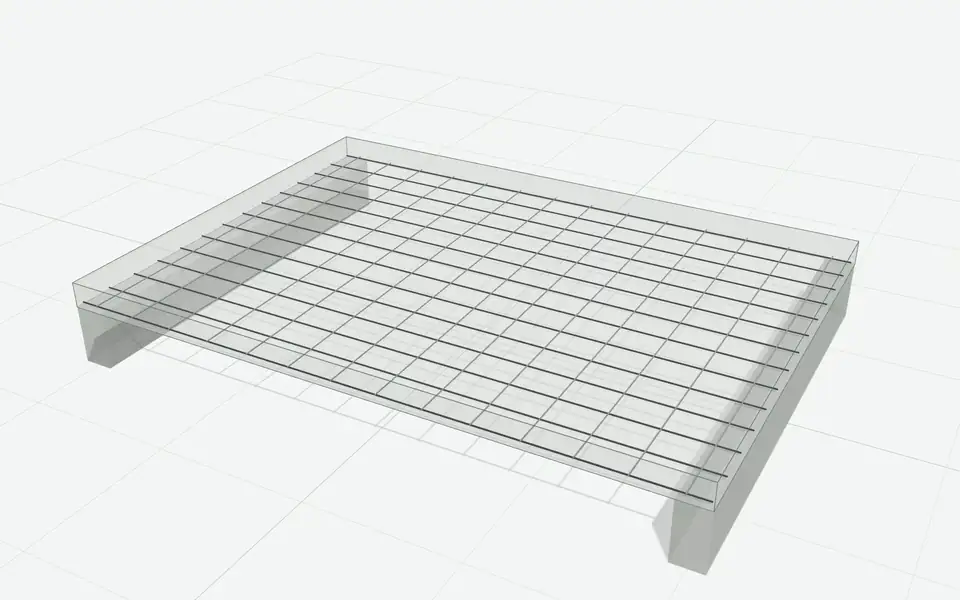 A slab, on one or more spans, or a two-way panel
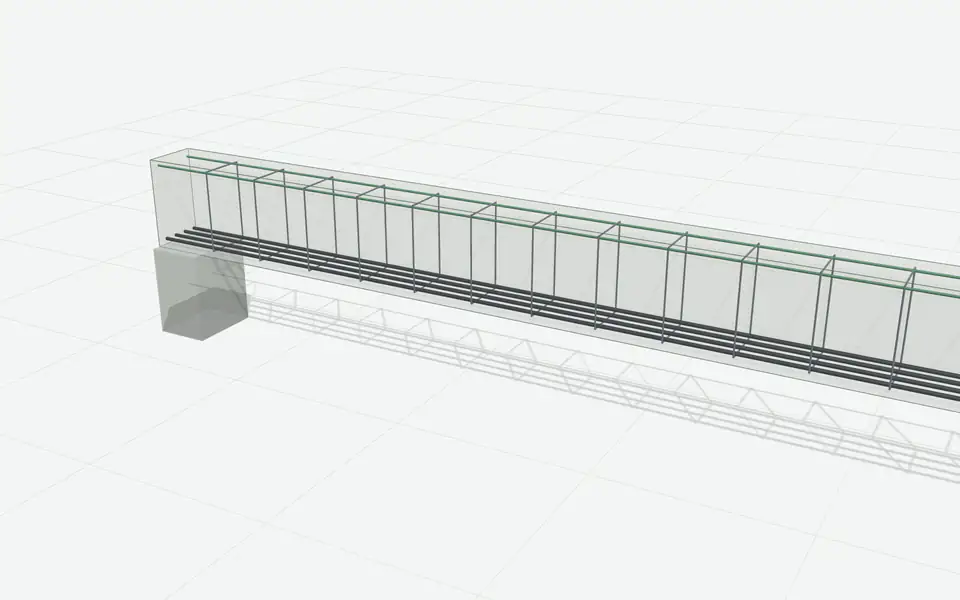 A beam, rectangular, T or L, with its links
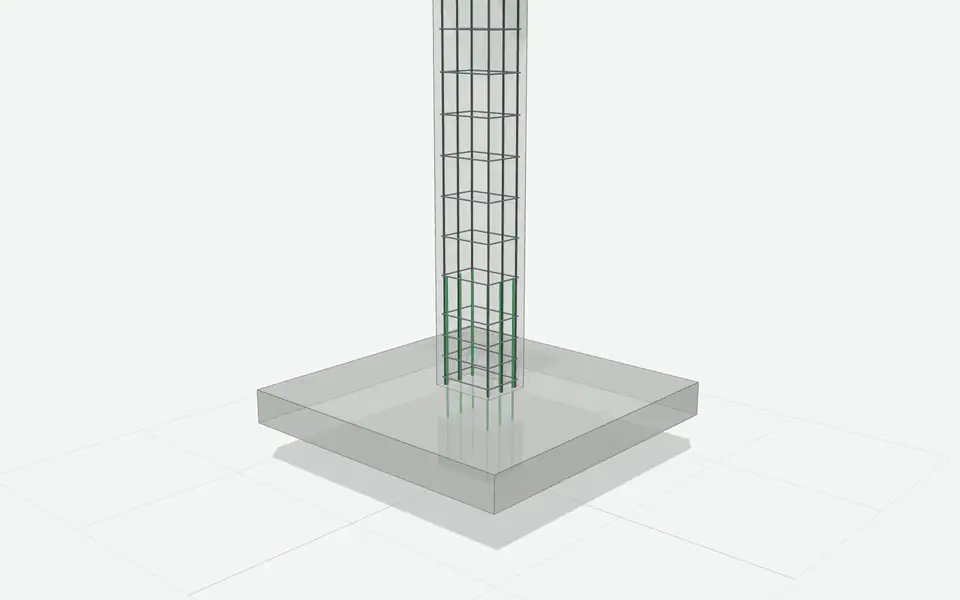 A column, braced or unbraced, slender or not
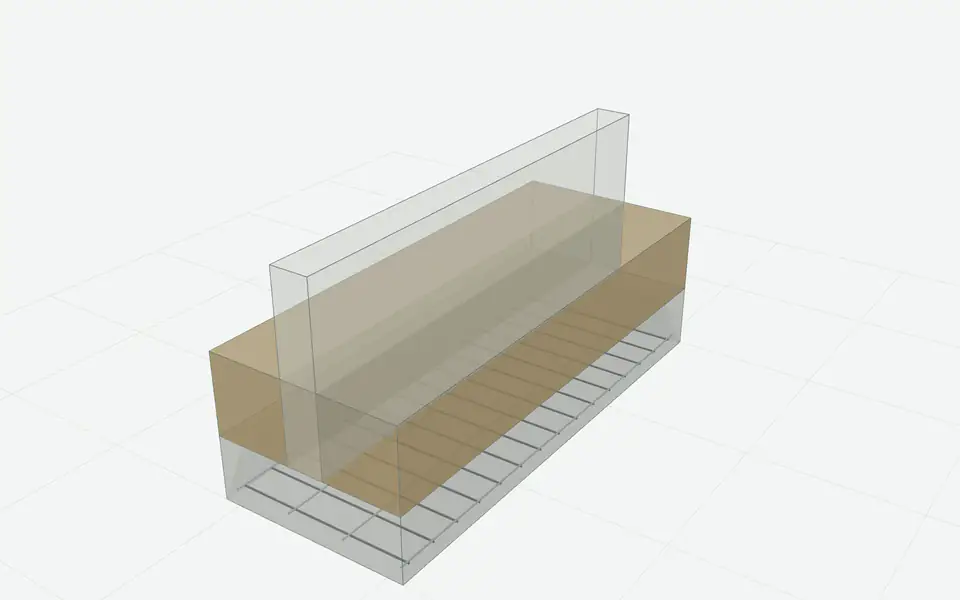 A footing: a pad under a column, or a strip under a wall
- Slab: a one-way slab on a single span or several spans, a cantilever, or a two-way panel supported on its edges.
- Beam: rectangular, T or L sections, on one span, continuous over several, or as a cantilever.
- Column: a rectangular column between two floors, braced or unbraced, with the slenderness and second order effects worked out.
- Footing: a pad under a column or a strip under a wall, checked for bearing, bending, shear, punching and anchorage.
Each member keeps its own inputs, so you can switch between them without losing your work. The inputs are also saved in your browser, so they are still there tomorrow.
Pick the National Annex
The first field is the National Annex. Eurocode 2 leaves some values to each country (the Nationally Determined Parameters, or NDPs), such as the factor on the concrete strength or the largest bar spacing in a slab. The choices are:
- Sri Lanka, from NA to SLS EN 1992-1-1:2013.
- United Kingdom, from the first edition (2005) of the UK annex to BS EN 1992-1-1. It takes the cover for durability from BS 8500, so there a stronger concrete buys a smaller cover. The UK annex to EN 1990 is not included yet, so the load factors stay at the recommended values, and the calculation says so.
- Recommended values (CEN), the values printed in EN 1992-1-1 itself, used where a country has no annex of its own.
- Another National Annex, where you type the values from any annex yourself. The values you enter are printed on the calculation and the PDF with the name you give the annex.
Every value that comes from the annex is marked NDP in the calculation, with the row of the annex it comes from. The Sri Lanka National Annex guide lists where it differs from the recommended values.
Enter the inputs
The inputs are grouped the way a design brief is: geometry, actions, materials and durability, then reinforcement. Many fields have a short hint underneath saying what they mean. A few things are worth knowing:
- Loads are characteristic. You enter and ; the calculator adds the self-weight and forms the ultimate and serviceability combinations of EN 1990 itself. The load combinations guide explains them.
- The use category sets the combination factors. Picking offices, for example, gives the factors for category B.
- Bars can be chosen for you. With Choose bars for me the calculator picks the lightest arrangement that passes every check. Switch to Enter my own bars to check a design of your own.
If an input cannot be designed (a column wider than four times its depth is a wall, for example), the model shows why next to the inputs, and nothing else changes until it is fixed.
Read the model beside the inputs
Beside the inputs is the live model. It redraws as you type:
- a 3D view of the concrete and the reinforcement, which you can turn, zoom and cut through;
- a cross-section (or, for a footing, a plan and a section) drawn to scale, with the bar marks and the cover;
- a badge saying whether the design passes, and the check that is closest to its limit.
On a phone the 3D view waits until you ask for it, so the page opens quickly.
Read the result and the checks
Below the inputs, the result gives the answer first: whether every check passes, the bars to provide (such as 4H20 B, or H8 @ 325 links), and the highest utilisation. The table of checks lists every check with its demand, its capacity and the utilisation, the ratio of the two:
| Check | What it compares |
|---|---|
| Bending | the steel needed, , with the steel provided, |
| Shear | the design shear with the resistance |
| Deflection | the span to effective depth ratio with its limit |
| Cracking | the bar size or spacing with the limits of Tables 7.2N and 7.3N |
A utilisation of 100 % means the check is exactly at its limit. The diagrams beside the checks show the bending moments and shear forces (for a column, its N–M interaction curve; for a footing, the ground pressure).
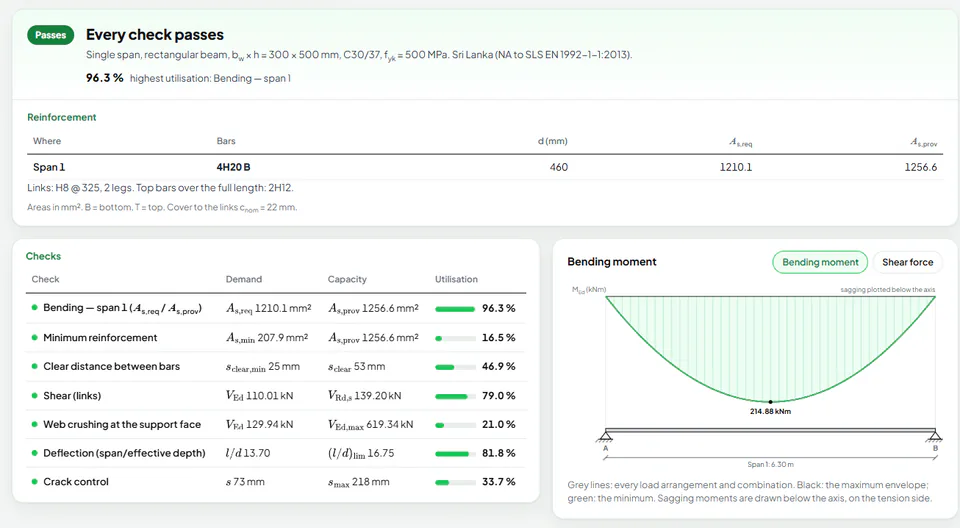
The result of the beam example, below the inputs.
- The verdict, with the reinforcement to provide
- The bar schedule: every bar and link, where it goes
- Each check with its utilisation; the clause is one tap away
- Bending moment and shear force diagrams, and the section
Read the calculation sheet
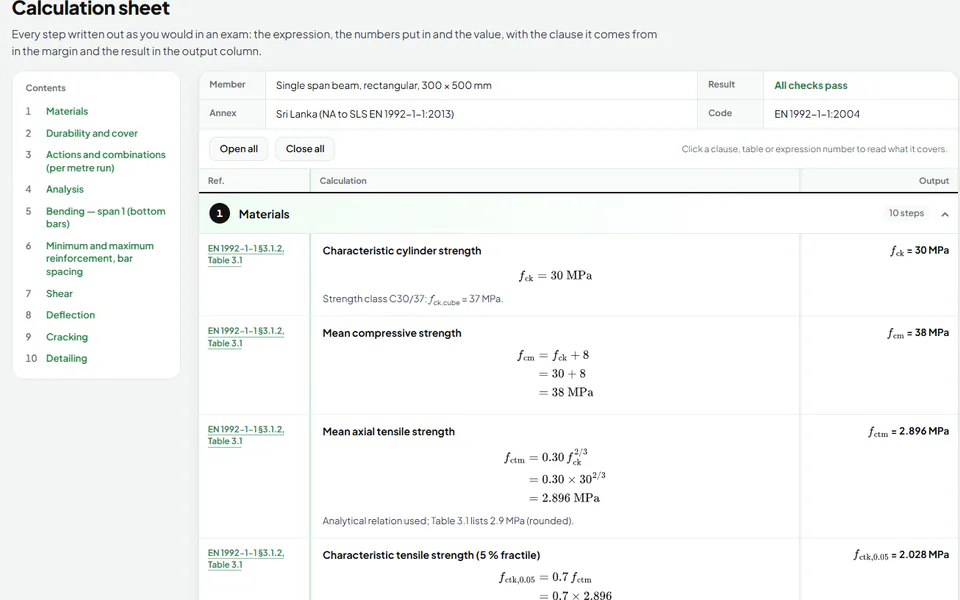
The calculation sheet is the heart of the tool. It is set out like a design office calculation pad, in three columns:
- Ref. gives the clause, table, figure or expression of the standard each step uses. Click it for a short note on what the clause asks for.
- Calculation gives the formula, then the numbers put in, then the value, one line at a time with the equals signs lined up.
- Output gives the value carried forward, and a tick or a cross for every check.
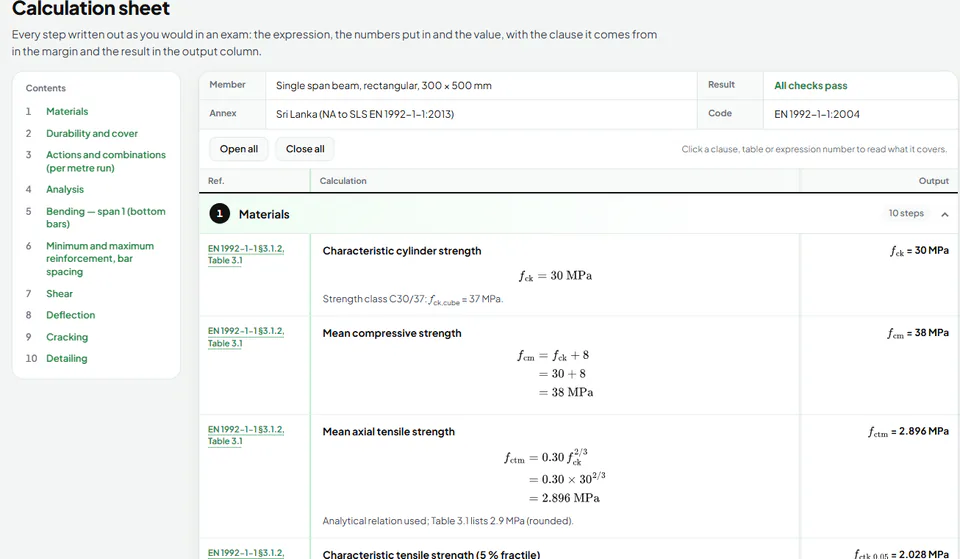
The calculation sheet with every group open.
- Contents of the calculation sheet: jump to any group
- The sheet heading: member, National Annex and date, as on paper
- Ref., calculation and output columns, the way an exam answer is set out
- Each group of steps opens and closes; open all before printing
Here is one step of the beam example, exactly as the calculator writes it:
Required tension reinforcement
The sheet is divided into sections (materials, cover, actions, analysis, bending, shear and so on), each closed until you open it. Drawings sit next to the steps they explain: the loading after the design load, the moment diagram after , the stress block after .
Download the PDF report
The last part of the page makes an A4 PDF of the whole design: a cover with the result, the inputs, the 3D view, the checks and every step of the calculation with its drawings. Add a project name and your own name if you like; both are printed on the cover, and the project name also names the file.

The last part of the page.
- Your name and the project go on the report cover
- Download the whole calculation as an A4 PDF
Save, share and start again
- Export inputs saves the inputs as a small file; Import inputs loads one back, on any computer.
- Reset to example loads the calculator's example design for that member.
- Nothing you enter leaves your device: the design is calculated in your browser.
Guides for each member
Read next
-
 Calculator guide
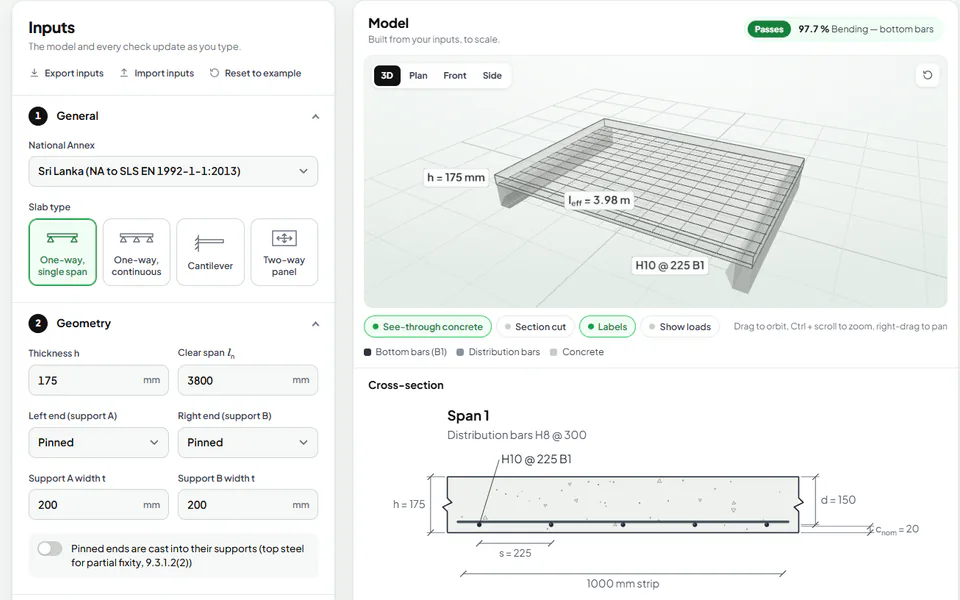
Slab design calculator to Eurocode 2: one-way, continuous, cantilever and two-way slabs
Design a reinforced concrete slab to EN 1992-1-1 with the free calculator: inputs, load arrangements, bending, shear, deflection and cracking.
-
 Calculator guide
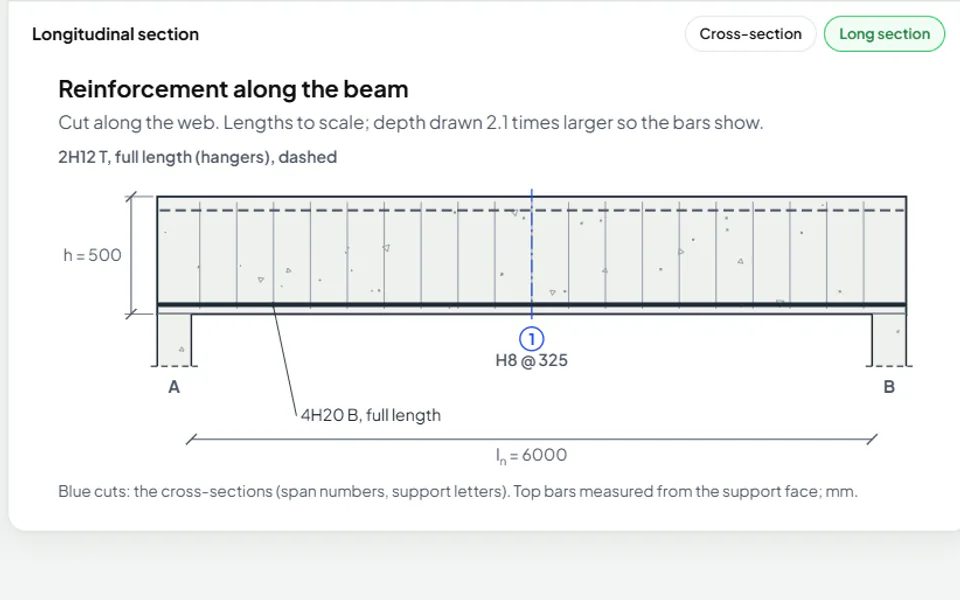
Beam design calculator to Eurocode 2: rectangular, T and L beams
Design a reinforced concrete beam to EN 1992-1-1 with the free calculator: spans and sections, loads, bending, links, deflection and cracking.
-
 Design guide
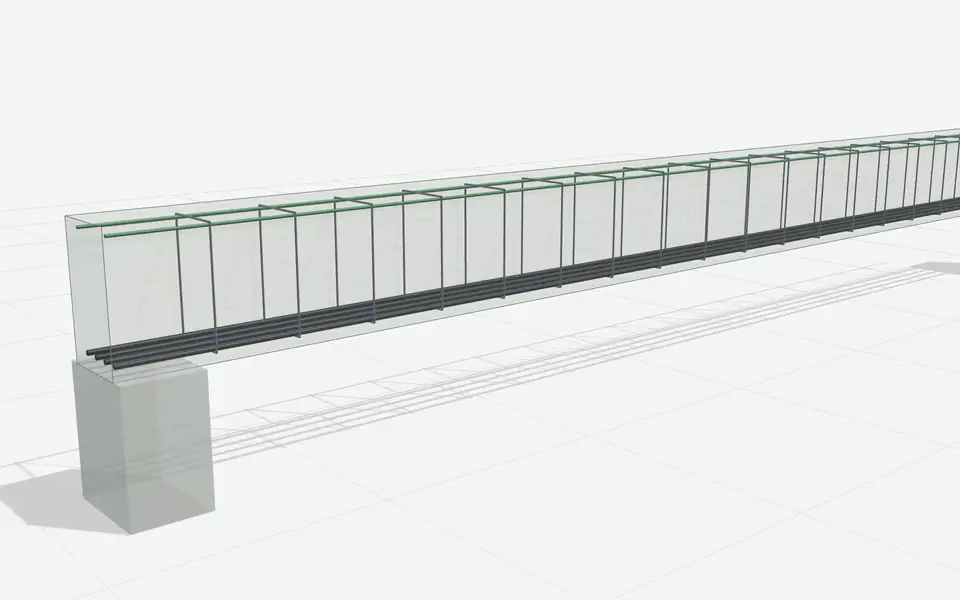
Beam design to Eurocode 2: a worked example of bending
A simply supported RC beam designed for bending to EN 1992-1-1, step by step: loads, design moment, effective depth, lever arm, steel area and bars.